This instructables is authorized by designer&maker “Deepocean” to Shapetizer to post
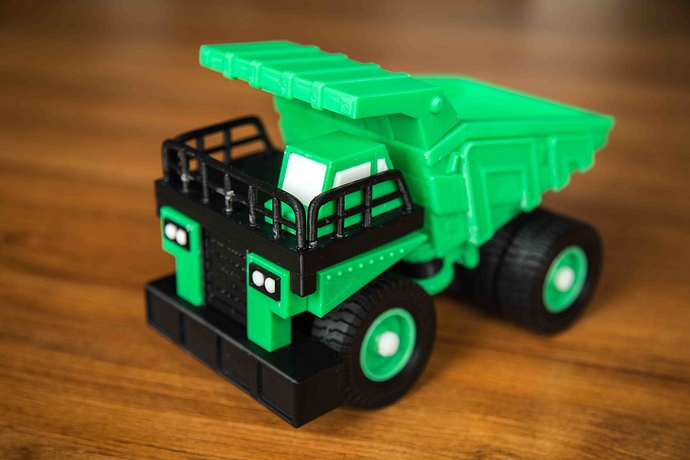
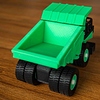
A truck toy set. 3D printed and assembled.
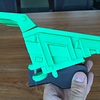
This truck was appeared in the movie “Transformers”. Yes, a part of the “Devastator”, the left foot. In the real world ,the prototype is Caterpillar 773b Dump truck.
Long Haul,a green Caterpillar 773B dump truck, which forms the right leg of devastator. Long Haul’s individual robot mode was designed by freelance artist Josh Nizzi as fan art of the other character name Big Green. The fan art impressed Bay enough to hire him on to the film. Long Haul,a green Caterpillar 773B dump truck, which forms the right leg of devastator. Long Haul’s individual robot mode was designed by freelance artist Josh Nizzi as fan art of the other character name Big Green. The fan art impressed Bay enough to hire him on to the film.
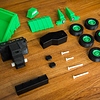
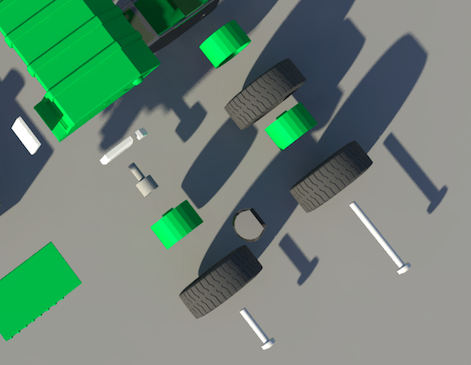
I upload the .STL files on shapetizer.com and you can stream print the parts. It means that you can print it any time using your account and printer.There are 22 .STL files that will be loaded, some of them need to be print more than once. For your convenience, I made a worksheet of parts to be printed, check it.
Just follow the worksheet to print! Don’t forget to change the filament with different color, and to add no.1,no. 4,no.5,no.8, no. 10, no. 11, no. 14 stl file in the print platform.And finally ,you will get all the parts needed (check picture parts)
OK, now let’s start with the steps:
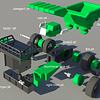
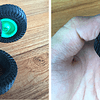
1. Assemble the Wheel
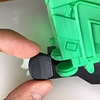
Insert the wheel hub into the tire. 6 wheels are all the same.
2.Assemble the front wheel system
Insert front outer axle through the wheel hub, and into the inner axle. You may need some glue, but remember the wheel cannot be cemented.
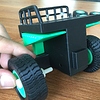
3.Finish the back wheel
The back wheel is a simple structure, all you need to do is putting the back axle through 2 back wheels into “body2”. You can use some glue if necessary.
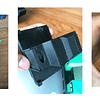
4.Finish the dumper
2 simple parts join together with glue. As shown in the picture, the dumper parts should be assembled with “body2” part.
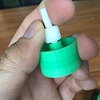
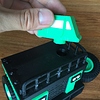
5. The Tank
A small widget should not be forgotten, the tank, which needs to be put here.
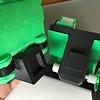
6. Assemble the face of the truck!
There are 4 main parts to be used: left front .stl, right front .stl, bumper .stl, body1 .stl. After that, we can add the cab onto it.
7. The Cab
There are 5 glass widget to be put on the cab. Each has an individual stl file. The cab could be assembled easily.
8. Finish the front wheel
Glue is needed here again.
9.Join the front and back part together