Printing the first layer can be surprisingly tricky, especially when you are setting up your printer for the first time, have recently made some heavy modifications, or are testing a new filament. Here I’ve compiled some tips and tricks to get that first layer down perfectly. As always, feel free to share your experiences in the comments too!
(not a good example of a first layer)
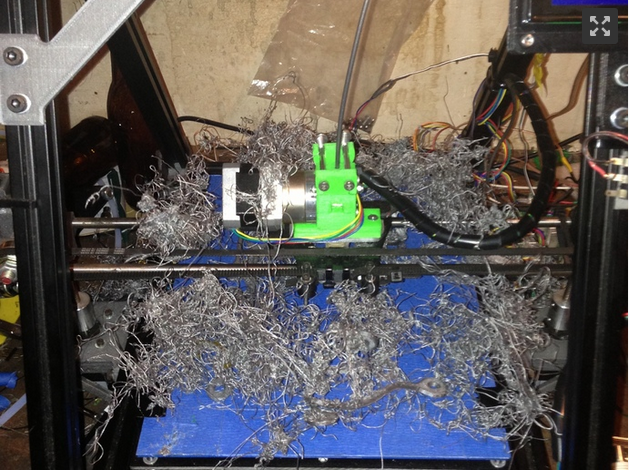
http://www.thingiverse.com/thing:44267
What can be so hard about the first layer? Why’s it so important? Getting that first layer right is an indicator of a lot things. Such as, a correctly leveled bed, right filament temperature, correct extrusion amount, etc. In short, getting that first layer right is a good signal* that your print won’t fail. You can save yourself a lot of time catching errors in the first layer(s). Its better to reprint with different settings after only 5 minutes of printing, rather than 5 hours. Also, if your print isn’t sticking, without a desperate application of ducktape, there’s no way the print will succeed.
*There are definitely other factors that can cause failure later on though, such as model complexity and rough overhangs. Please refer to my previous entry on design for 3D printability to learn a bit more.
Leveling the bed
I’ve found that the primary cause of first layer problems is an unlevel build plate. Most build plates use a 3 point leveling system and a built in function in the operating software to begin the process, so its fairly straight forward to level now. Run the command and tighten or loosen the screws relative to what you need. I use a piece of paper, ~1mm, to get the right height from the nozzle. Some trial and error is required to get this 100 percent accurate. I typically relevel my build plate after 75-100 hrs of printing for good measure.
As a side note, make sure that your 3D Printer is on a level surface, and if its not, add a pad or something similar on a corner to make it so. Our office happens to have a weird slant, so I had to place a pack of post it notes in the corner to ensure the printer wouldn’t shake and move during printing.
Over / Under Extrusion
First, check to see if its a problem with your filament or if your extruder is jammed and causing under extrusion. You can reference the filament jam and prevention tips and tricks if thats the issue.
As a general rule, if you want to avoid trouble with your print, slow down your printing speed. To properly callibrate and perfect your settings - I’d recommend printing and perfecting this calibration Thing .
How to get the first layer to stick
There are quite a few different options to get that first layer to stick right. Some of them are more messy than others.
-
Gluestick - Pretty self explanatory, the glue helps give that extra adhesion.
-
Hairspray - If you have a glass build plate, aquanet hairspray helps. Apply generously and let it dry.
-
ABS slurry - Mix ABS scraps + acetone in a jar and apply it on your plate with a gluestick or q-tip. This is basically creating a mini raft of ABS.
-
Painters Tape - Works for PLA Adhesion
-
Kapton Tape - Good for ABS adhesion
-
BuildTak - Good for genera PLA and ABSl adhesion and removal. Also works for heated build plates.
-
??? - I am sure there are more and I’d love to hear about them. I’ve even heard Maple Syrup has been used before…
Also, after 75-100 hours of printing, I recommend cleaning the plate with some rubbing alcohol.
Rafts, Skirts, and Brims
Rafts
A Raft is essentially a flat layer underneath your print. Printing with a raft ensures proper layer adhesion, but is extra material and time. Unless your print really needs a strong foundation to print from or you are using ABS, they are not completely necessary.
Skirts
Skirts are basically warm up laps for your extruder. Offset from the outline of your model, a skirt runs a couple of passes of extrusion to ensure everything is running ok. If you aren’t worried about adhesion, skirts are the way to go.
Brims
Brims are similar to skirts, except that they are attached to your model instead of offset from it. If you are printing a model that have that has legs or something similar that needs adhesion but doesn’t have a large surface area touching the bed, Brims are a great choice.
Misc Causes of Bad First Layers
Is your printer near a door that opens regularly? Or perhaps a window, fan, or anything else that could potentially cause a draft? This may be the cause of warping in that first layer. Try moving it to a different location or building an enclosure.
I am inexperienced with heated build plates, if anybody can offer advice on how that effects the first layer that would be much appreciated.
Hope this is helpful to everyone! Please share any other tips, tricks, or secret ingredients that you’ve used to get that first layer right too.
