Alex,
Your right they are cool looking. This is the first version of the Rostock Max from SeeMeCNC. I had the opportunity to travel to Elkhart IL to build this at the http://midwestreprapfest.org/ There have been lots of changes since the original release, so the newer ones may already have the changes I’m going to list. The build took all weekend to put together and about a month of on and off adjustments to get it to print.
This is not a complete list — I’m sure there are several hundred other things I have done.
1. Repetier Host Software
2. Repetier Firmware for the Rostock Max
3. Ezstruder
4. Fan for the RAMBO controller board
5. Heat Sink from Adafruit for the Stepper Drivers on the RAMBO controller
6. Make sure to use the heat sink tape from adafruit too.
7. E3Dv6 Hotend (I originally backed the Pico on kickstarter, but the E3Dv6 worked out of the box)
8. I made an adapter for the B3 innovations Pico, with a little scaling on the Z it will work for the E3Dv6. If you would like I could make one for the E3Dv6, I just did not spend the time to make permanent changes.
Pro’s
It’s a bowden design (see con’s) So the travel end is light and fast.
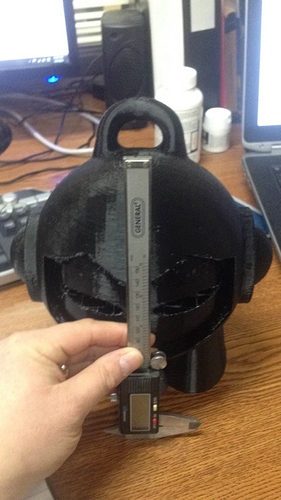
It’s tall. Mine is 13.5" in height and has an 11" diameter. This can be adjusted by using longer extrusions and belts.
If you have never seen a Delta print — your missing out.
It exceeds the quality of the MakerBot Replicator (1st gen.) This has taken me a long time but the MakerBot now is a secondary printer, used only when the Rostock is busy or I need to print in flexible material.
Con’s
It’s a bowden design. You won’t have much success in printing flexable filaments. The bowden tube has too much friction to push the squishy material all the way to the hotend. You will also have to set much higher retraction distances to stop ooze, and strings.
The build plate does not heat evenly. It’s hotter to the center (where the thermistor is located) so the outside edges will have a large temp delta
Not sure if this is a pro or con but the powersupply is a standard PC powersupply. I have not had any trouble with it so far.
I’m not a big fan of the “cheapskate” linear bearing design, but once you get it tuned up they work.
Seems like I can go on forever with Pro’s and Con’s but then this would never get published, so…