For the unfamiliar, Tinkercad is a cloud based 3D modeling software that’s a part of Autodesk’s 123D design suite. I’m a huge fan because its pretty straight forward and simple, but surprisingly powerful. If you combo Tinkercad with a program like Meshmixer, you can cover a lot of your design needs for 3D printing. They aren’t the most advanced modeling software’s, but its a good place to get started and learn the concepts. Here are a few tips and tricks:
Useful Shortcut’s
(Substitute CTRL for CMD if you’re a Mac user)
Right click to orbit
Shift + click select multiple objects in a group
Hit F to focus on object
CTRL G to group
CTRL C + CTRL V to copy and paste objects
CTRL D to duplicate
CTRL Z to undo
Hold Shift while moving objects to limit the movement to the X Y plane
The Basics
You can import existing STL files through the function on the right hand sidebar of Tinkercad. Dragging and dropping also works. If you look a bit lower, you can select a wide variety of geometric shapes to get you started in your workspace. You can also take a look and import other Tinkercad Shape Generator designs made by the community. There’s some neat objects available there, such as a voroni square, gear houses, octagons, and more.
Once you have the object in your workspace there’s two main things you need to know.
- Dots scale/resize the object relative to the corner or plane you drag from. Hold Shift at a corner to scale the object uniformaly!
- Arrows are for rotation. You can rotate on any of the planes.
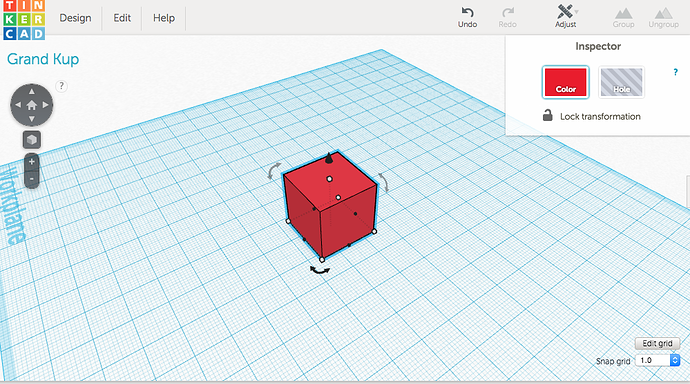
Grouping and Holes
This is where Tinkercad really shines. First of all, by grouping your objects together, Tinkercad automatically creates a single watertight mesh. Also, You can turn any object you create or import into a “hole.” Basically, when you group an object that’s a hole with a normal object, it will remove the hole object from the the normal object where there’s overlay. It’s subtractive in a sense. See below.
Before
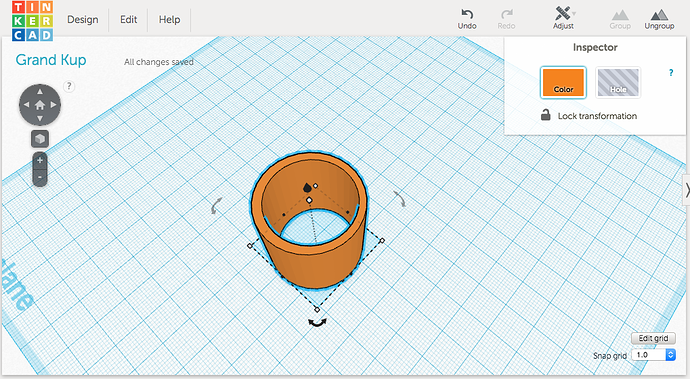
After
Using this method, you can create more complex objects than just the base geometric shapes. Once you get the hang of using this tactic, it makes Tinkercad a very powerful tool.
Misc Tips
Use the workplane to help with lining up objects. Don’t be afraid to jump between programs within the 123D suite, Tinkercad isn’t always the best tool for the job.